
Battery or Alternator? Diagnose Slow Cranking and Dim Lights
Use engine-off, cranking and running-voltage checks to separate weak-battery, charging-system, cable and starter faults before replacing parts.
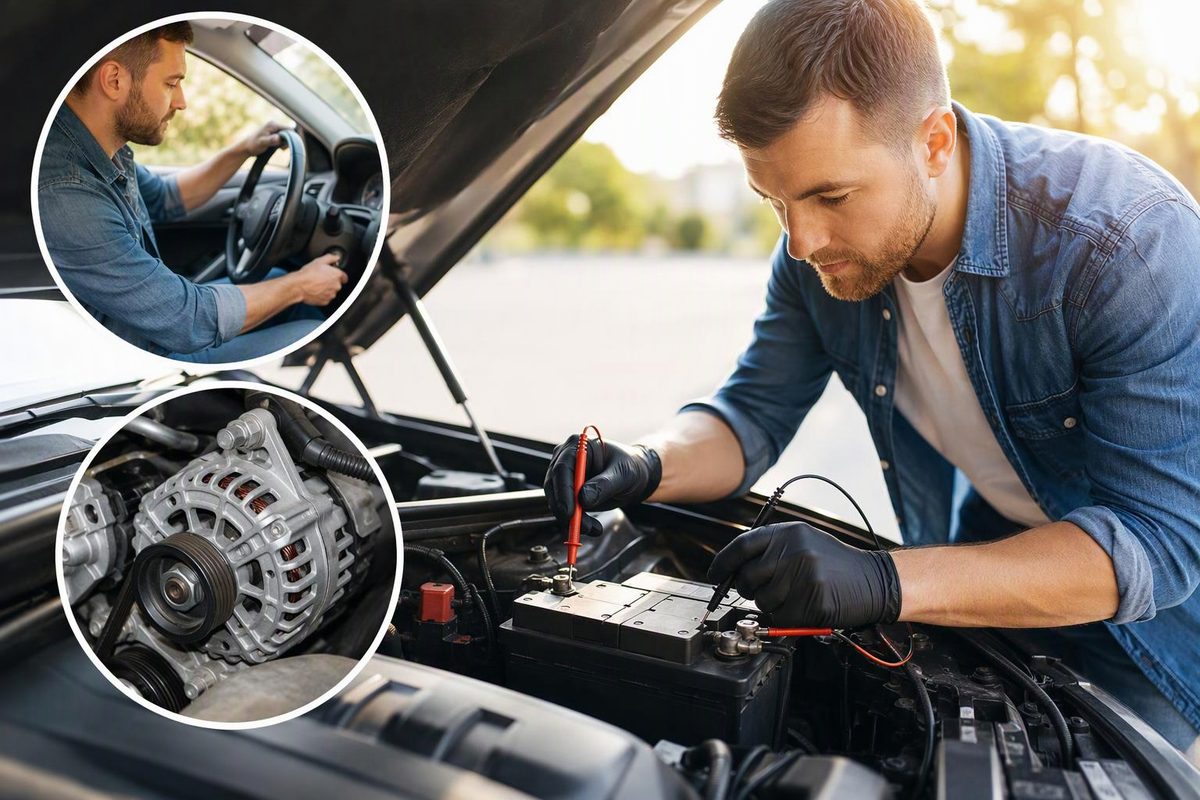
Slow cranking points first to the battery, its state of charge or a high-resistance cable connection. Lights that dim while the engine is running—especially if brightness changes with engine speed—put the charging system higher on the list. Neither symptom identifies a failed part by itself.
This sequence applies to conventional 12 V starting systems with an alternator. Hybrids, EVs and some stop-start vehicles may use a DC/DC converter or model-specific charging strategy; use the service procedure for that vehicle.
What the symptoms suggest
| Symptom | Check first | Other plausible causes |
|---|---|---|
| Cranking becomes slower over several starts | Battery charge and health | Loose or corroded terminals, damaged cables, starter draw, cold oil |
| Rapid clicking with little or no cranking | Battery charge and terminal connections | Cable voltage drop or starter fault |
| One solid click but no crank | Connections and starter circuit | Weak battery, starter solenoid or seized accessory/engine |
| Headlights are dim with the engine off | Battery state of charge | Poor battery connection or lamp/circuit fault |
| Lights brighten as engine speed rises | Charging-system output and drive belt | Alternator wiring, grounds or regulator control |
| Charging warning light stays on while running | Entire charging circuit | Belt, fuse/fusible link, wiring, regulator or alternator |
| Jump-start works, but the engine soon stalls | Charging system | Severely discharged battery, wiring or another engine-control fault |
| Battery goes flat again after sitting | Battery health and key-off current draw | Accessory left on, parasitic draw or incomplete charging |
A jump-start is a clue, not a verdict. A weak battery may need the jump, while an undercharging alternator or key-off drain may be what discharged it.
Test in this order
1. Inspect before measuring
Switch the engine and accessories off. Wear eye protection, remove metal jewelry and keep tools clear of both terminals—standard precautions also specified in the ODYSSEY battery safety manual. Do not charge or jump-start a battery that is cracked, leaking, unusually hot, frozen or visibly swollen.
Check that the hold-down is secure. Inspect the terminals, clamps, ground points and cables for looseness, corrosion, fraying or heat damage. A poor connection can imitate either a bad battery or a bad alternator. If repair is needed, first identify the connector and correct service method; see battery and cable connector fitment.
2. Measure resting voltage at the battery
Measure at the battery terminals or the manufacturer-designated test points. On an accessible top-post battery, touch the probes to the lead posts rather than the cable clamps; this prevents a poor post-to-clamp connection from distorting the initial battery reading.
A rested, fully charged 12 V lead-acid battery is typically around 12.6 V. A lower reading usually indicates that it is undercharged, but it does not explain why or prove the battery has failed. DENSO likewise specifies that the battery should be fully charged before charging-system diagnosis (DENSO charging-system diagnosis).
Resting voltage does not measure starting capacity. A battery can show 12.6 V yet have seriously weakened internal conductance, so use an appropriate battery-health, conductance or load test before condemning it (Midtronics). Charge a low battery with a charger compatible with its design, then retest it. Nominal voltage alone is not enough when choosing a 12 V lead-acid charger.
3. Watch voltage while cranking
Have a helper crank the engine while you watch the meter from a safe position. A large voltage collapse confirms that the starting circuit is under stress, but does not distinguish among:
- a discharged or weak battery;
- resistance at a terminal, cable or ground;
- excessive starter-current draw; or
- unusually high mechanical cranking load.
Cranking-voltage limits vary with battery temperature, vehicle and test method. Use the vehicle service specification rather than treating one threshold as universal. A shop can combine the reading with battery-health, starter-current and cable voltage-drop tests.
4. Check charging voltage with the engine running
Keep probes, hands and clothing away from belts and fans. Measure across the battery terminals at idle and under the conditions specified by the manufacturer.
For a general alternator check, DENSO specifies approximately 13–15 V at 2,000 rpm, followed by another test with the headlights, blower and defroster on. It also says to use the vehicle service manual for the correct specification (DENSO charging-system troubleshooting).
Interpret the result cautiously:
- Voltage stays near the engine-off reading: the battery probably is not receiving adequate charge. Check the drive belt, fuses, fusible links, wiring and grounds before replacing the alternator.
- Voltage reaches the vehicle’s specified range: the alternator is charging at that moment, but an intermittent fault, weak battery or overnight drain remains possible.
- Voltage is above specification: this is not a “strong” alternator. A regulator, sensing-connection or battery fault may be causing overcharging.
The 13–15 V check is a general screen, not a substitute for the OEM procedure. This is particularly important on stop-start vehicles and vehicles with battery registration or a battery-current sensor.
5. Check charging-cable voltage drop under load
Normal voltage at the alternator but low voltage at the battery suggests loss in the cable path. DENSO’s general loaded procedure allows 0.2 V or less on the positive side and 0.2 V or less on the negative side, tested at about 2,000 rpm with electrical loads switched on (DENSO). Use the vehicle specification if it differs.
This test is performed on a live circuit near moving engine parts. If you are not familiar with safe probe placement, have a technician do it.
Do not use the battery-disconnect test
Never remove a battery cable while the engine is running to “see whether the alternator keeps it alive.” The resulting surge can damage other vehicle components; use a meter and the specified charging-system procedure instead (AutoZone).
When the answer may be “both”
An undercharging alternator can leave a healthy battery discharged, and repeated deep discharge can reduce battery capacity. Conversely, replacing a depleted battery may temporarily hide the charging fault. Base the repair decision on three recorded results:
- battery state of charge and health after charging;
- charging-system output under the specified load; and
- starting-circuit voltage drop or starter-current draw.
If both battery and charging tests pass but the battery repeatedly dies while parked, move to a model-specific key-off current test. Disconnect aftermarket devices first and follow the diagnostic path for a recurring battery-discharging warning.