
Car Battery Load Test: Procedure and Pass/Fail Voltages
Learn the 15-second car battery load test, temperature-adjusted voltage limits, and when to charge, retest or replace a 12 V lead-acid battery.
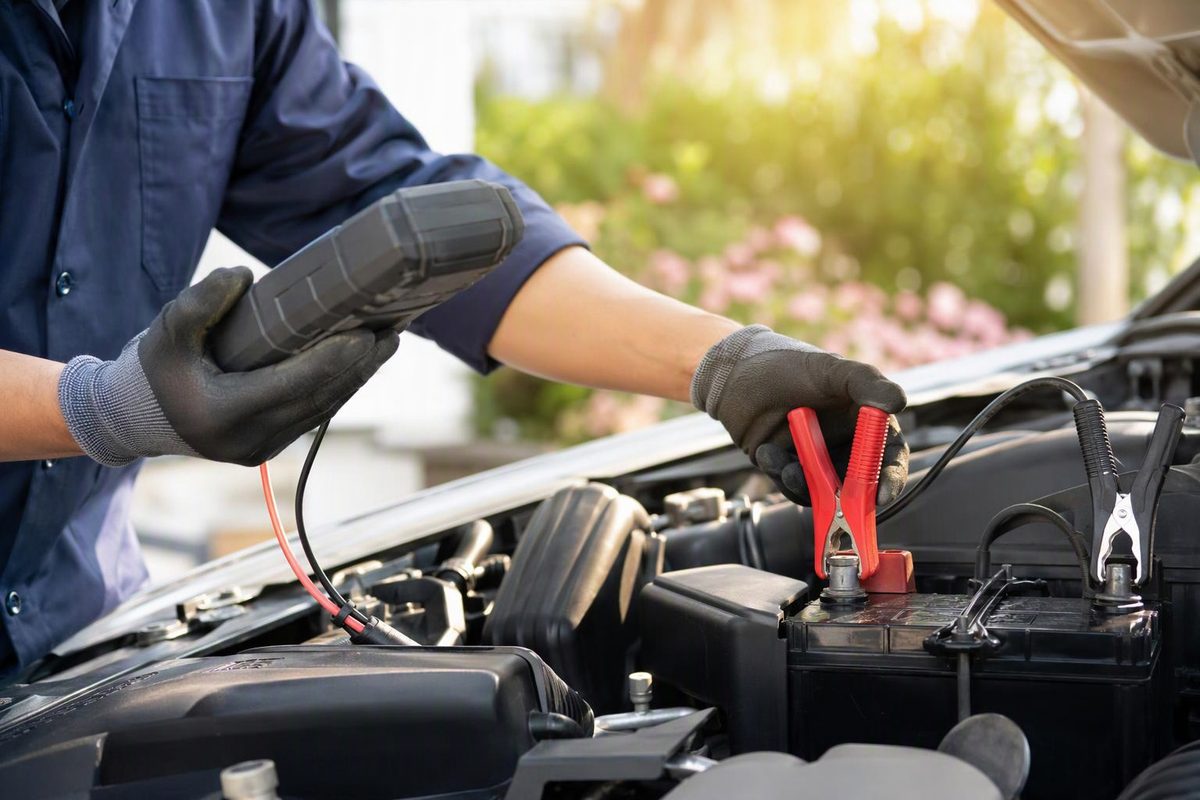
A conventional car battery load test applies half the battery’s rated cold-cranking amps (CCA) for 15 seconds. For a sufficiently charged 12 V lead-acid starting battery at 70°F (21°C), voltage should remain at or above 9.6 V at the end of the test. Lower temperatures require lower voltage limits; a discharged battery needs charging before the result can support a replacement decision. These conditions are specified in the Clore SOLAR 1874 tester manual.
This guide covers conventional 12 V lead-acid starting batteries, including flooded and AGM types. Do not apply this procedure to lithium batteries or a hybrid/EV high-voltage battery pack.
What a load test tells you
A load tester checks whether the battery can maintain voltage while delivering a controlled high current. A resting-voltage reading alone does not perform that check. If you only have a voltmeter, start with testing a car battery with a multimeter, but do not treat a normal resting reading as a load-test pass.
The tool matters:
- Adjustable carbon-pile tester: lets you set the load to half the battery’s CCA rating and use the timed voltage limits below.
- Fixed-load tester: applies its own predetermined load. Interpret its result using its instructions and scale—not automatically the half-CCA limits.
- Electronic conductance tester: evaluates the battery electronically rather than performing this high-current discharge test. Use a model compatible with the battery chemistry and enter the correct rating.
East Penn’s testing guidance distinguishes these methods and warns that electronic testers not programmed for AGM batteries can incorrectly condemn them.
Prepare before applying a load
Wear eye protection, remove metal jewelry, and work in a ventilated area away from flames and sparks. Do not test a cracked, leaking, visibly damaged or frozen battery. Carbon-pile testers become hot; allow the cooling time required by the tool. Never remove a clamp while the load is applied, and never connect this tester while another tester or charger is connected to the battery. See the Clore safety and inspection instructions.
Before testing:
- Inspect the connections. Clean corrosion and establish firm contact with the battery terminals. Poor clamp contact can invalidate the result.
- Check the charge level. Clore requires at least 75% state of charge for this test. If charge is low or uncertain, charge the battery with a compatible charger first. Use chemistry-specific guidance rather than assuming flooded and AGM batteries have identical resting voltages.
- Account for recent charging or use. Surface charge can distort readings. Follow the battery and tester instructions for resting or removing surface charge. East Penn recommends at least four hours of rest after charging for the AGM batteries covered by its guide; Clore specifies a surface-charge-removal procedure followed by ten minutes of stabilization. Clore also requires ten minutes without heavy battery use or testing before the load test.
- Follow the vehicle’s service procedure. Confirm whether testing requires battery isolation or disconnection; East Penn’s AGM guide requires disconnection. Test batteries individually in a multi-battery installation, not as one combined bank.
The charge, resting and connection requirements are detailed in the Clore manual and East Penn guide.
Run the 15-second test
For an adjustable tester approved for this procedure:
- Find the battery’s CCA rating on its label or manufacturer specification. Do not substitute a different displayed rating for CCA.
- Confirm that the tester can supply the required load. A 600 CCA battery needs 300 A; an 800 CCA battery needs 400 A.
- With the load control off, attach the tester leads with the correct polarity and firm terminal contact. Keep the engine and accessories off for the battery test.
- Apply half the rated CCA for 15 seconds.
- Read the voltage while the load is still applied at 15 seconds, then turn the load off. Do not use the voltage after it rebounds.
This load and timing procedure is supported by both Clore and East Penn.
Temperature-adjusted pass/fail limits
Use battery temperature, not simply the current outdoor temperature. These are the minimum end-of-test voltages in the SOLAR 1874 manual:
| Battery temperature | Minimum voltage under load at 15 seconds |
|---|---|
| 70°F (21°C) | 9.6 V |
| 60°F (16°C) | 9.5 V |
| 50°F (10°C) | 9.4 V |
| 40°F (5°C) | 9.3 V |
| 30°F (−1°C) | 9.1 V |
| 20°F (−7°C) | 8.9 V |
Use your own tester’s instructions if its procedure differs. Clore prohibits testing below 20°F (−7°C); do not extrapolate this table to colder conditions.
Decide whether to charge, replace or investigate elsewhere
Below the limit: verify the load, temperature and clamp contact. Recharge a serviceable battery fully and repeat the test after the required rest and tester cooling. At 70°F, East Penn’s procedure calls for replacement if voltage remains below 9.6 V on the second test after recharging. At other temperatures, use the applicable tester limits. A low-charge first failure alone is not enough to condemn it. Source: East Penn.
At or above the limit: the battery passed this starting-performance check under those conditions. The test does not establish remaining lifespan or diagnose an overnight electrical drain. If starting is still slow, investigate battery cables, the starter and charging system rather than replacing a passing battery without further diagnosis.
For a shop test, ask for the method, battery rating used, charge status and result. For a carbon-pile test, also ask for the applied amperage, battery temperature and voltage at 15 seconds—those details make “passed” or “failed” meaningful.