
How Long Does It Take to Replace a Car Battery?
Allow 30–60 minutes for a typical 12 V car battery replacement. Difficult access, corrosion, testing and required resets can extend the job.
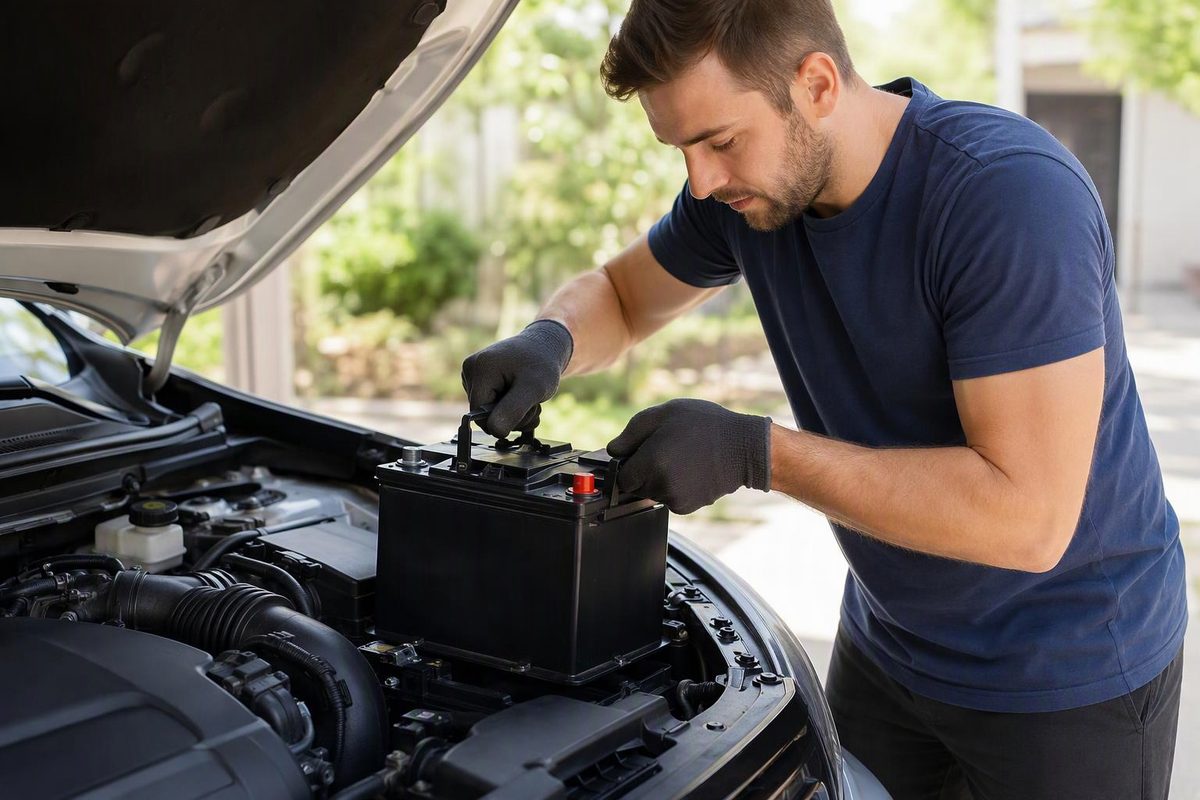
Allow 30–60 minutes to replace an accessible 12 V car battery. RAC estimates about 30 minutes for a straightforward change, while Interstate says a basic DIY replacement can be completed in under an hour (RAC; Interstate/Costco). A first-time DIY owner should reserve the full hour rather than plan around the quickest estimate.
A difficult battery can take longer than an hour. Common delays include removing trim or other components, freeing corroded hardware, testing the battery and charging system, and completing model-specific electronic resets.
These estimates cover a vehicle’s low-voltage starting or auxiliary battery—not an EV or hybrid high-voltage traction battery.
| Situation | Time to allow |
|---|---|
| Accessible battery and familiar procedure | About 30 minutes |
| Straightforward first-time DIY replacement | Up to 1 hour |
| Mobile fitting appointment | Around 1 hour as a service benchmark |
| Hidden battery, corrosion, damaged hardware or required programming | More than 1 hour may be needed |
RAC says its mobile fitment usually takes around an hour and can take longer because of battery location or damage around the battery. That is a service benchmark, not a guarantee for every provider or vehicle (RAC mobile fitting). At a shop, total appointment time may also include check-in, diagnosis and waiting for a bay.
What makes replacement take longer?
Battery access
An unobstructed battery under the hood is usually quickest. Extra time is needed if an air-intake duct, brace, cowl panel, seat or cargo-area trim blocks access.
Some start-stop vehicles also have a separate support battery. Volvo’s XC40 support-battery page, for example, identifies a 12 V AGM unit low in the engine compartment and recommends replacement by an authorized Volvo workshop (Volvo). Check the owner’s manual before assuming the visible battery is the vehicle’s only low-voltage battery.
Corrosion or damaged connectors
A terminal that will not release, a seized hold-down or heavy corrosion can turn a short swap into a repair. Do not force a cracked or badly damaged clamp back into service.
Before installation, confirm that the replacement battery’s case dimensions, terminal positions and polarity match the tray and cables. Our battery and cable connector guide covers those fitment checks.
Testing before replacement
Installation may be only one part of the visit. A technician may first test the battery, charging system and cable connections to determine whether the problem is a failed battery, a charging fault or an electrical drain.
AAA Northeast says its mobile technicians test the battery and charging system, inspect the connections and replace the battery on the spot only when required. It also warns that some battery locations require additional installation time (AAA Northeast).
If age is the main reason you are considering a new battery, see how often a car battery needs replacement.
Battery-management resets and relearning
Disconnecting power can erase settings or trigger model-specific initialization. Some vehicles also require a battery-management reset or registration after installation.
The 2022 Ford Expedition manual, for example, specifies a battery-sensor reset after replacement. It also lists the clock, radio presets and window bounce-back among the features that may need resetting. Its battery-management system then requires eight hours with the vehicle locked and the ignition off to relearn battery state of charge. That sleep period does not make the physical replacement an eight-hour job (Ford 2022 Expedition owner’s manual).
Follow the manual for the exact year, model and powertrain. Do not assume another vehicle’s reset sequence or memory-backup method applies to yours.
How much time should a DIY owner set aside?
Reserve a full hour for an apparently simple under-hood battery, plus extra time if the manual calls for removed components or a reset. Before starting:
- Confirm the replacement’s size, chemistry, terminal layout and required ratings.
- Read the vehicle-specific shutdown, removal and reset procedure.
- Put on eye protection and gloves, and remove metal jewelry.
- Switch the vehicle off and follow any specified waiting period.
- Disconnect the negative terminal first, then the positive.
- Remove the hold-down and lift the battery upright.
- Clean the tray and connectors if necessary.
- Secure the new battery, then connect positive first and negative last.
- Complete the specified resets and checks.
Interstate’s safety guidance calls for safety glasses, gloves and removal of jewelry. It specifies negative-first disconnection and positive-first reconnection, and notes that a battery can weigh 40 lb or more (Interstate Batteries). Keep sparks and flames away from a lead-acid battery.
Choose professional installation if access is unclear, cables or hold-downs are damaged, the manual specifies a workshop procedure, or diagnostic equipment is required. When booking, ask whether the quoted time covers only installation or the complete appointment, including testing and required electronic setup.